Terminus Logo  Secured by phpPhobos

Shadow Family   
 Welcome Anonymous Coward  (User) -  Logout   
Search 
Sunday, 28 April 2024  -
News FeedRSS Feed
rss rdf  
  Home 
  Authentication 
 Documentation 
    Site Documentation 
    About me 
  Legal Notice 
 Applications 
    Web Links 
 Hobbies 
    RC Models 
    RC Batteries 
    Build blogs 
 Modules 
    Downloads 
    Weblinks 
 Blacklists 
    Blacklist 
    Blockout 
    DNS Blacklist 
 Registered Bloggers 
  Joerg's Blog 
 Gallery [Listing]
  > Diving 
  > Steampunk 
  > RC Planes 
  > FPV Drones 
  > Indy travels 
 FAQ  [ Topics  ]
 Common Linux problem... 
 Routerboard RBxxxAH 
 Apple Mac-mini 
 PHP Phobos 
 Stargate's Backup sc... 
 eBook Reader / PRS-5... 
 RC Models 
 Server in SolLan 
Build blog - export: raw
 
Documentation TitleTitle of this documentation entry
:  
  Bushmule v2 FPV edition  
 
Document AuthorPerson who wrote this entry
:  
  Jörg  
 
Contact E-MailContact E-Mail for this document
:  
  jorg(-DOT-)mertin(-AT-)solsys(-DOT-)org  
 
StatusStatus for this entry
:  
  In Progress  
 
CategoryCategory/Type of this entry
:  
  RC Planes  
 
Document languageLanguage this document has been written
:  
  English  
 
Entered dateEntered date
:  
  2021-03-29  
Main document

Having wanted to have a FPV plane for a while, I decided to use the Bushmule v2 from Avios.
it provides a canopy for FPV flight, and has enough space to mount the flight controller and all sensors required for a decent setup.

Putting the pieces together was quite easy. All that was really required was to force a little on the wing connectors. Albeit not "exact" here, but as it is EPO, it could be forced into position.
For the rest, make sure all connections are set was the easy part.

Inserting the flight controller and sensors was a little more complex, as I didn't want to completely ruin the aerodynamics (as seen on some FPV builds).
After deciding what sensors I would use, and where I'd place the FC, I started "gluing" the pieces in. Note that for a EPO type plain, a heat-gun pistol is the best tool there is!

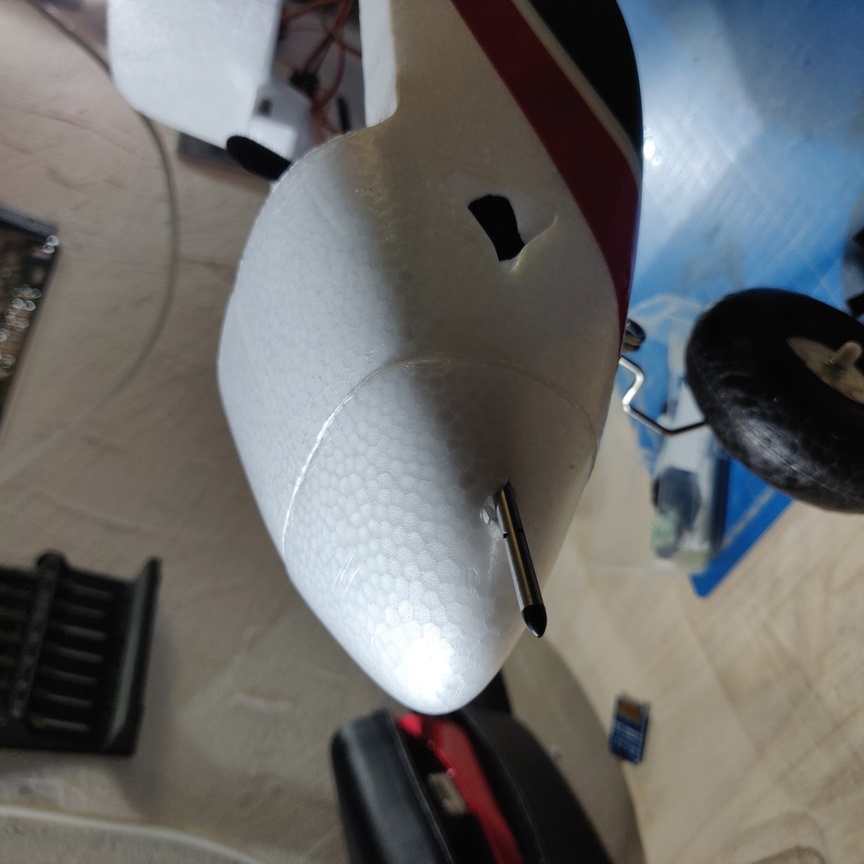
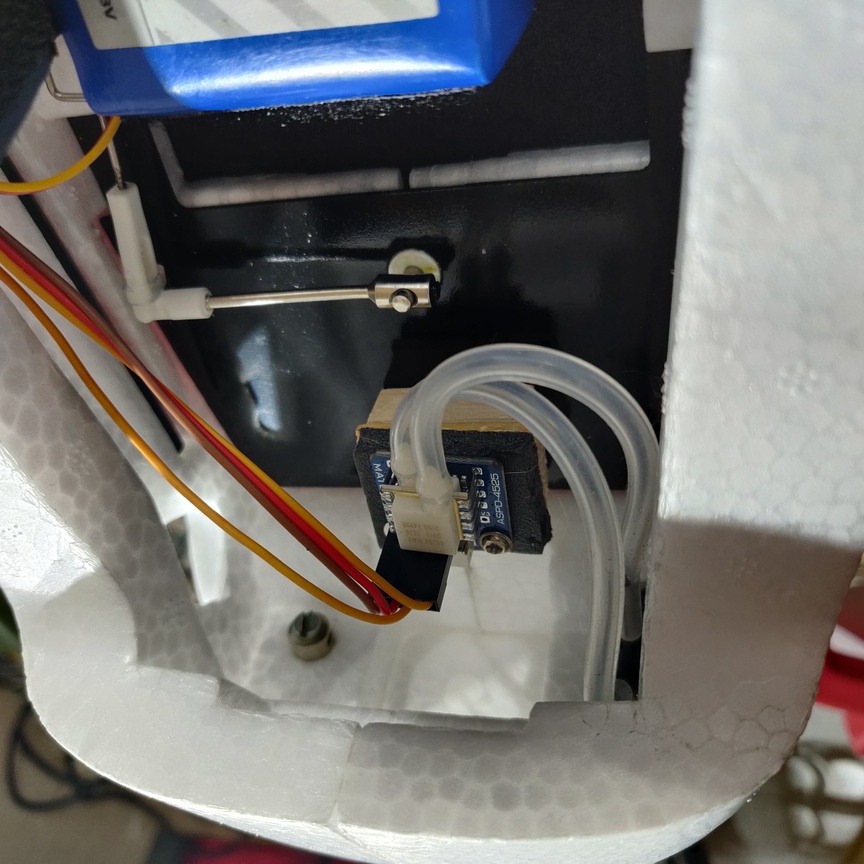
Pivo tube and electronics

The pivot tube went straight into the "nose" of the bushmule. See pictures below:
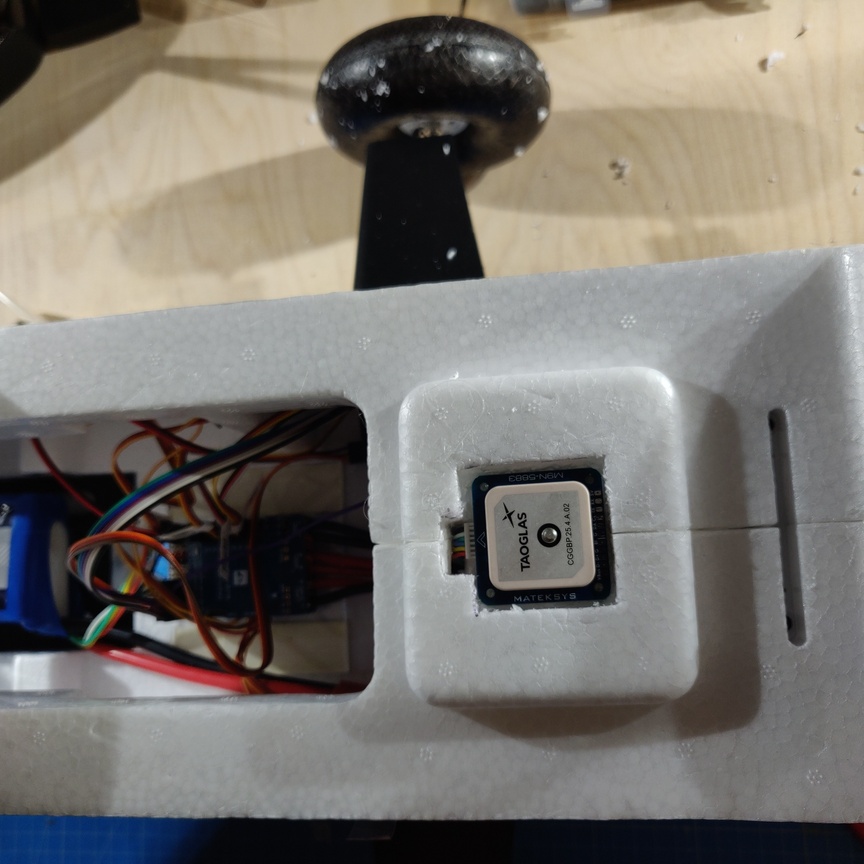
https://www.solsys.org/bin.php?bin=get&bin_id=1137
https://www.solsys.org/bin.php?bin=get&bin_id=1138

The GPS went

went straight into the Wing-Mount. Note that the EPO won't stop the signal from reaching it nicely.
https://www.solsys.org/bin.php?bin=get&bin_id=1139

The Video subsystem

We'll be using 2 cameras. One to the front, upper cabin camera, and one right through the bottom of the plane showing what is happening under the plane.
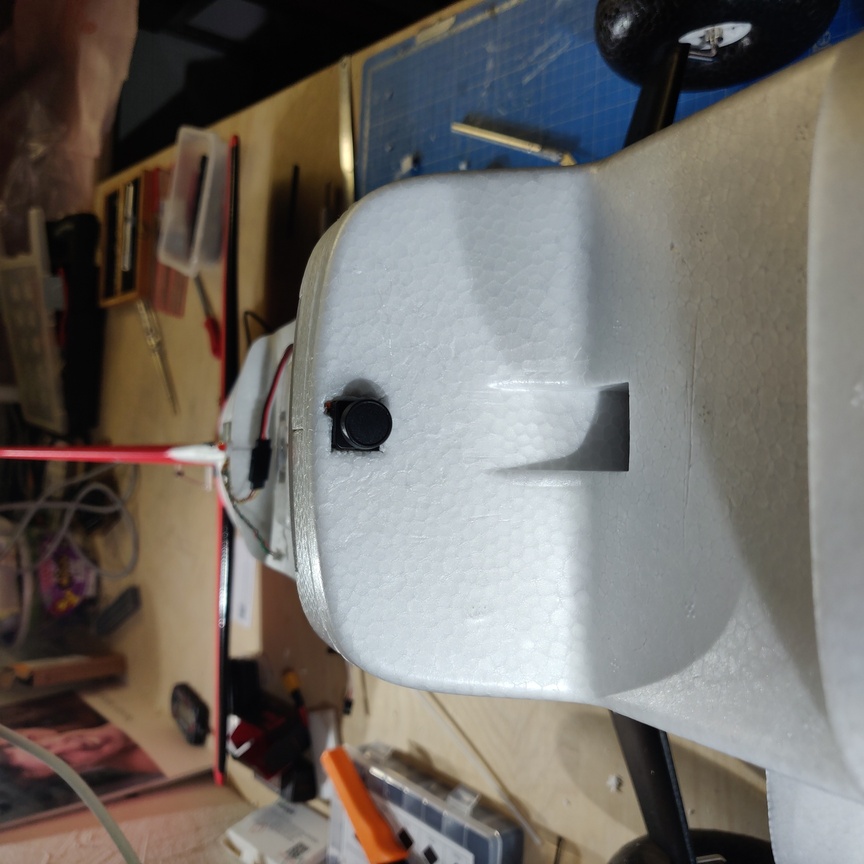
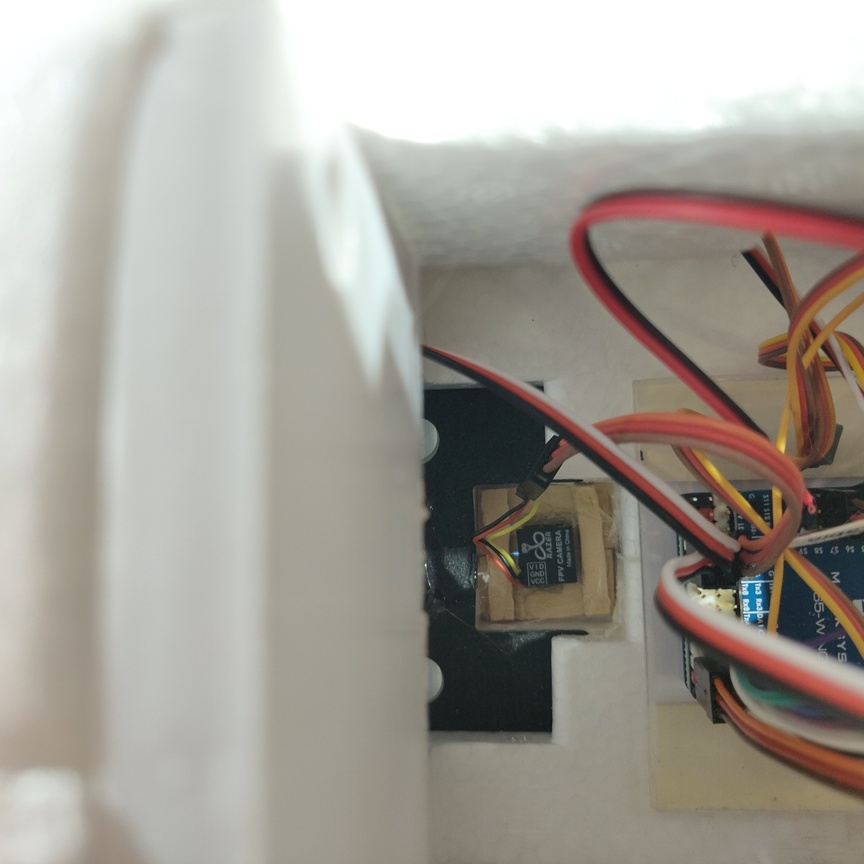
Front camera:
https://www.solsys.org/bin.php?bin=get&bin_id=1140

Bottom camera, top view:
https://www.solsys.org/bin.php?bin=get&bin_id=1141

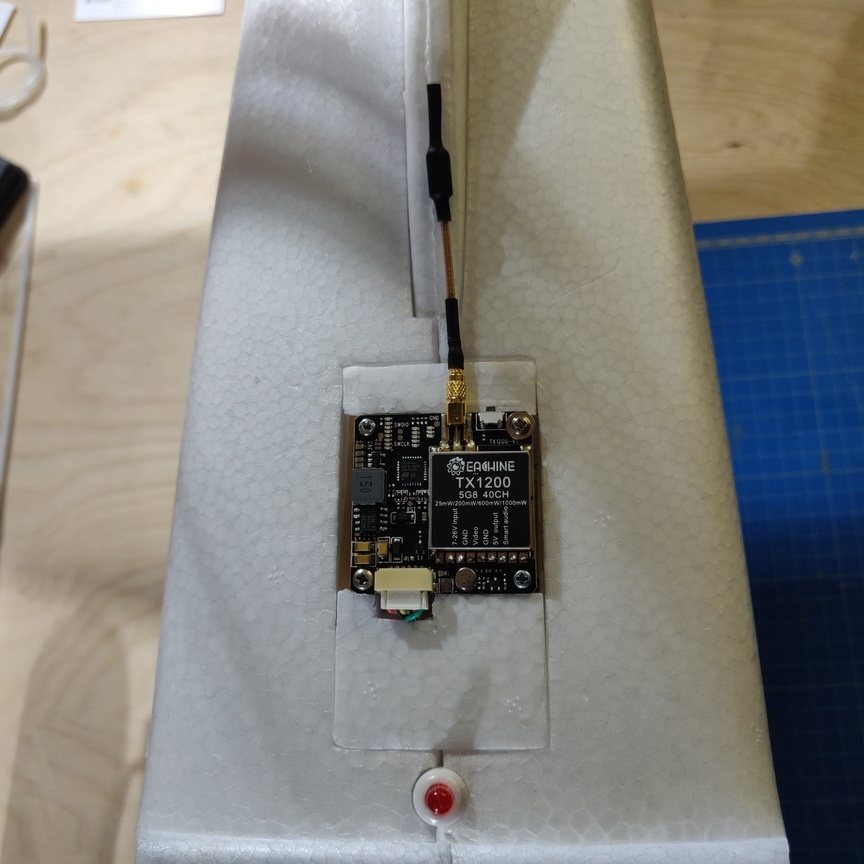
And the Video Transmitter:
https://www.solsys.org/bin.php?bin=get&bin_id=1142

The flight controller

This one has been installed in the CG (there is space for that actually).
https://www.solsys.org/bin.php?bin=get&bin_id=1143

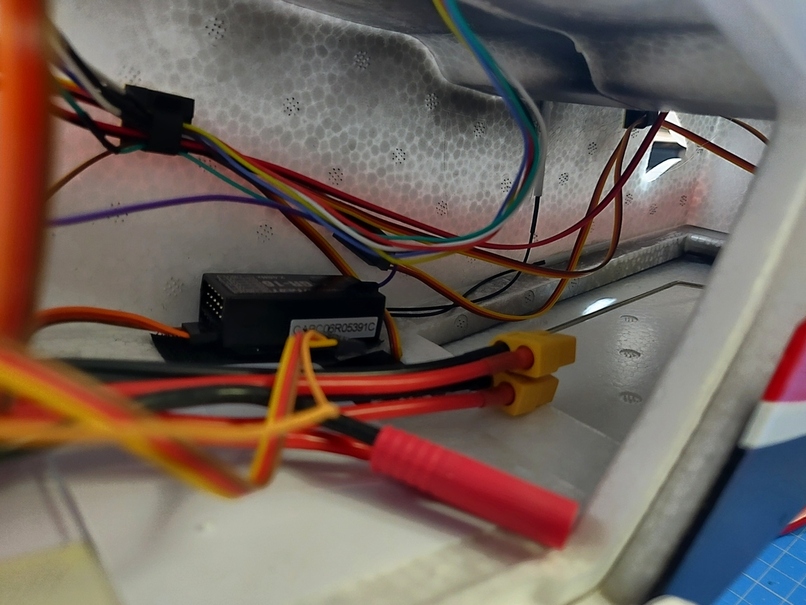
The Receiver on the side

hoping it won't affect too much the Magnetometer in the GPS
https://www.solsys.org/bin.php?bin=get&bin_id=1144

Wings

The cables that need to be connected from the Wings to the flight controller are a mess.
2 Flaps, 2 Aileron, 2 ESC control + 2 Reverse ESC + 2 ESC Battery, 2 Lamp. Total = 12 cables.
Used 2 Multiplex connectors and soldered it all together. This way, each wing side has its connector with Aileron, Flap, ESC + ESC REV. Makes it much easier.
https://www.solsys.org/bin.php?bin=get&bin_id=1149
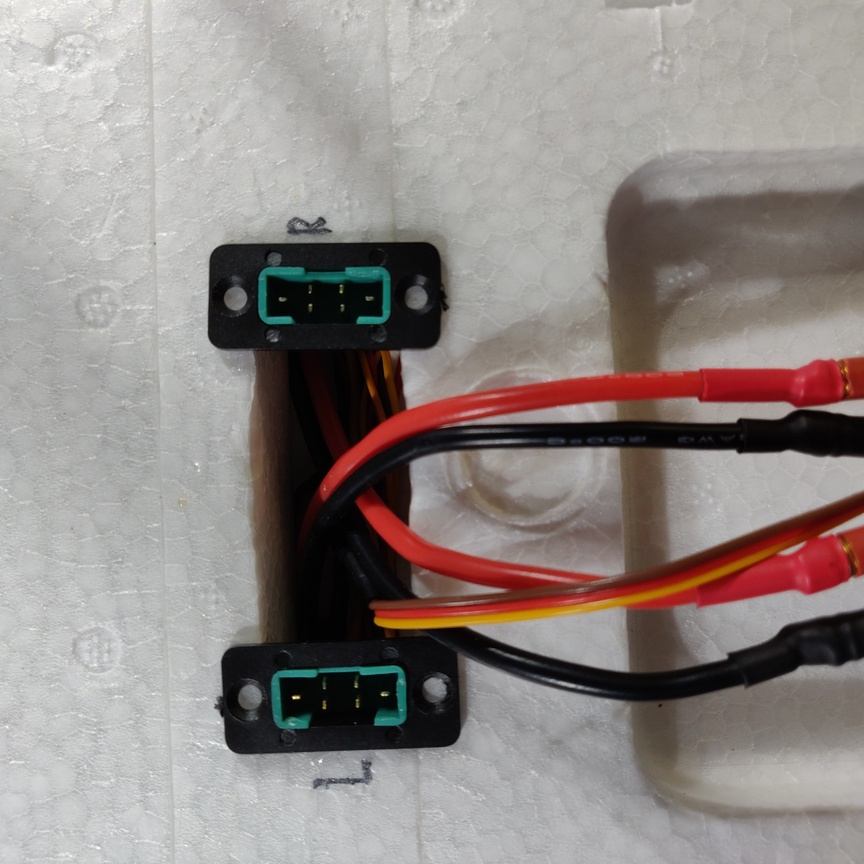
and the connection cables
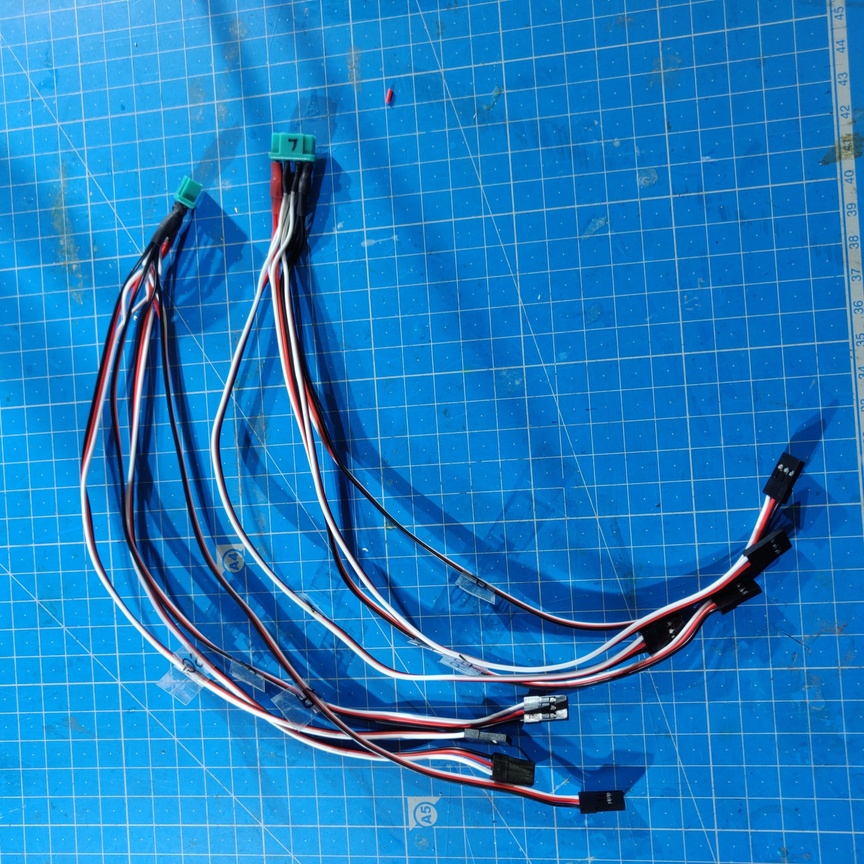
https://www.solsys.org/bin.php?bin=get&bin_id=1150

TODO List
  • Configure the flight controller
  • Fine tune the flight controller
    Back Back    


Problems to  webmaster(-AT-)solsys(-DOT-)org  - best viewed @ 1920bpp
This site is powered by phpPhobos v2.0b446
© J. Mertin smurphy(-AT-)solsys(-DOT-)org 
Icons - Copyright Breeze artists GPL 2+